
Blog
Bowling Ball Maintenance 101: How to Keep Your Gear from Dying

Related Posts
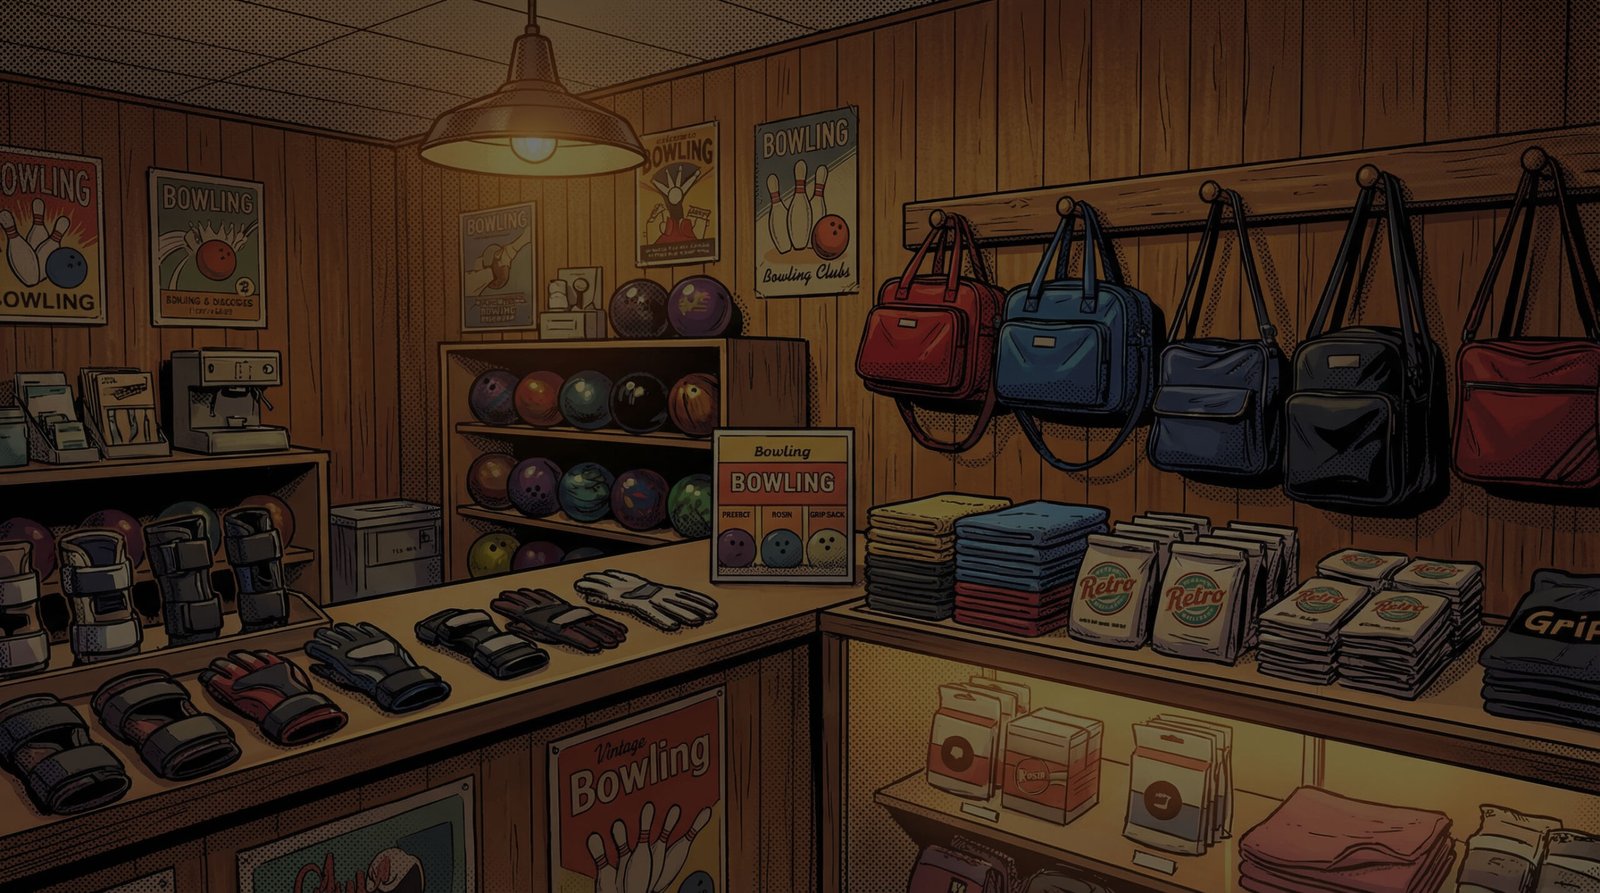
Bowling Accessories That Actually Help Your Game: What’s Worth Your Money?
When you’re thinking about getting serious with your bowling gear, your mind probably jumps to the big-ticket items: the ball, the shoe...
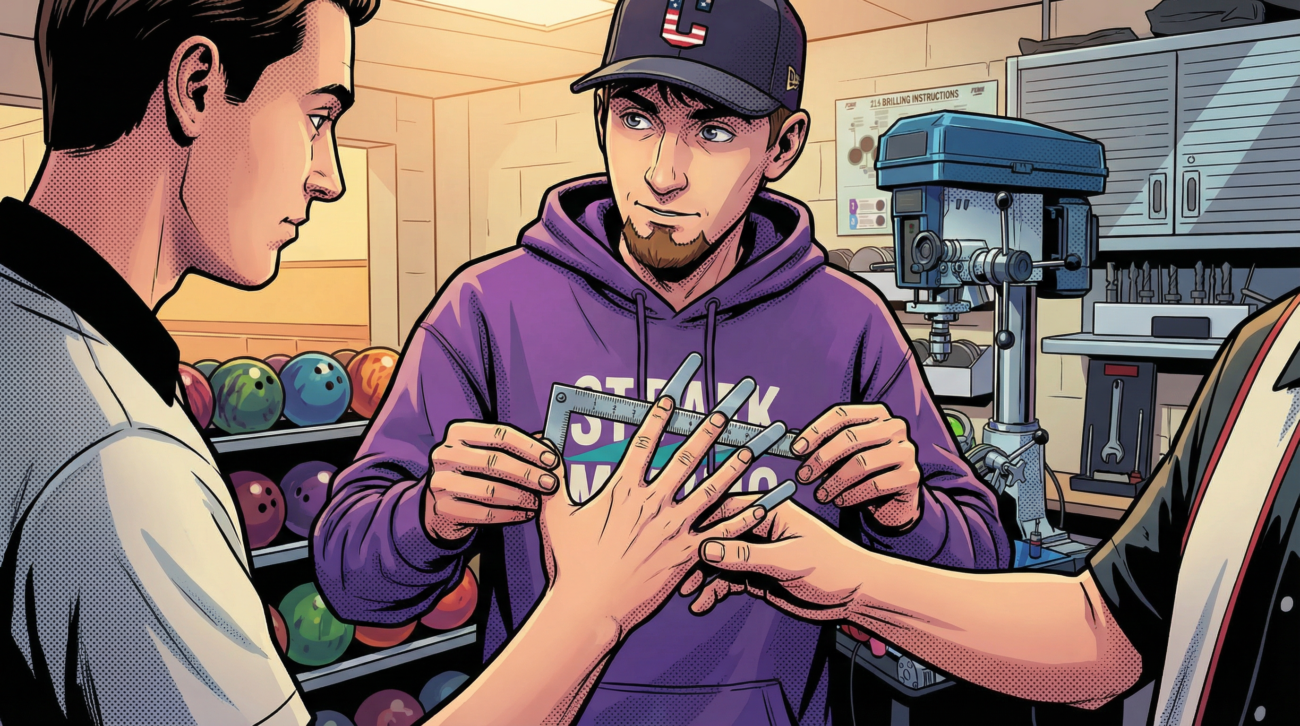
Why Your Bowling Ball Should Fit Like a Glove
Ever finish a night of bowling and your thumb feels like you’ve been trying to hitchhike on the interstate for three days straight? Or ...

Strikes Are for Show, Spares Are for Dough
You've heard it a million times, and it's true. You can throw all the strikes you want, but if you can't pick up your spares, you're ne...
How to Throw a Hook: 5 Things to Focus On
Let's get one thing straight: throwing a hook isn't just for showing off. It's about getting more strikes. When you see the pros on TV ...
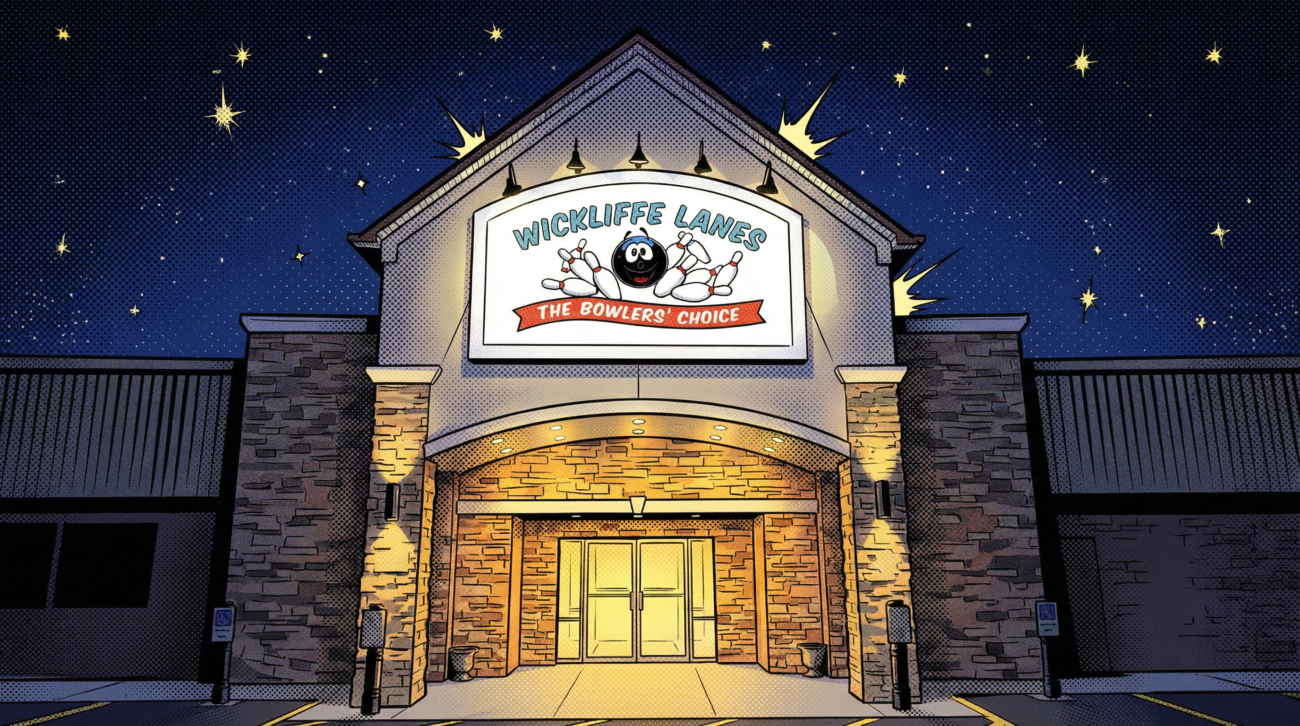
The Wickliffe Bowling Scene: It’s More Than Just a Game Here
There’s a sound you hear on a weeknight at Wickliffe Lanes. It’s the crack of the pins, sure, but it’s also the sound of friends giving...

How to Pick Your First Bowling Ball (and Not Get Ripped Off)
So, you’re tired of using those beat-up house balls. You know the ones. They’ve got more nicks and scratches than a demolition derby ca...
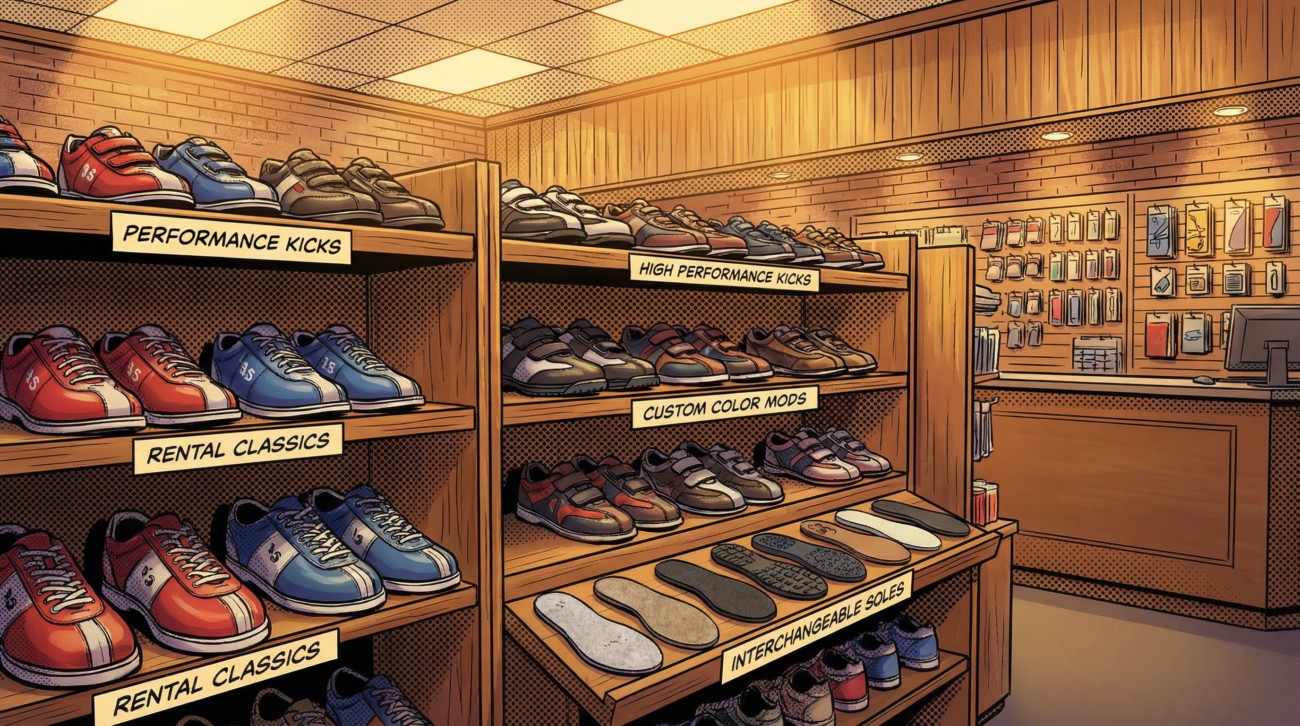
Your Bowling Shoes Are More Important Than You Think
Let’s be honest. When you think about bowling equipment, you’re probably thinking about that new reactive ball that’s going to hook off...
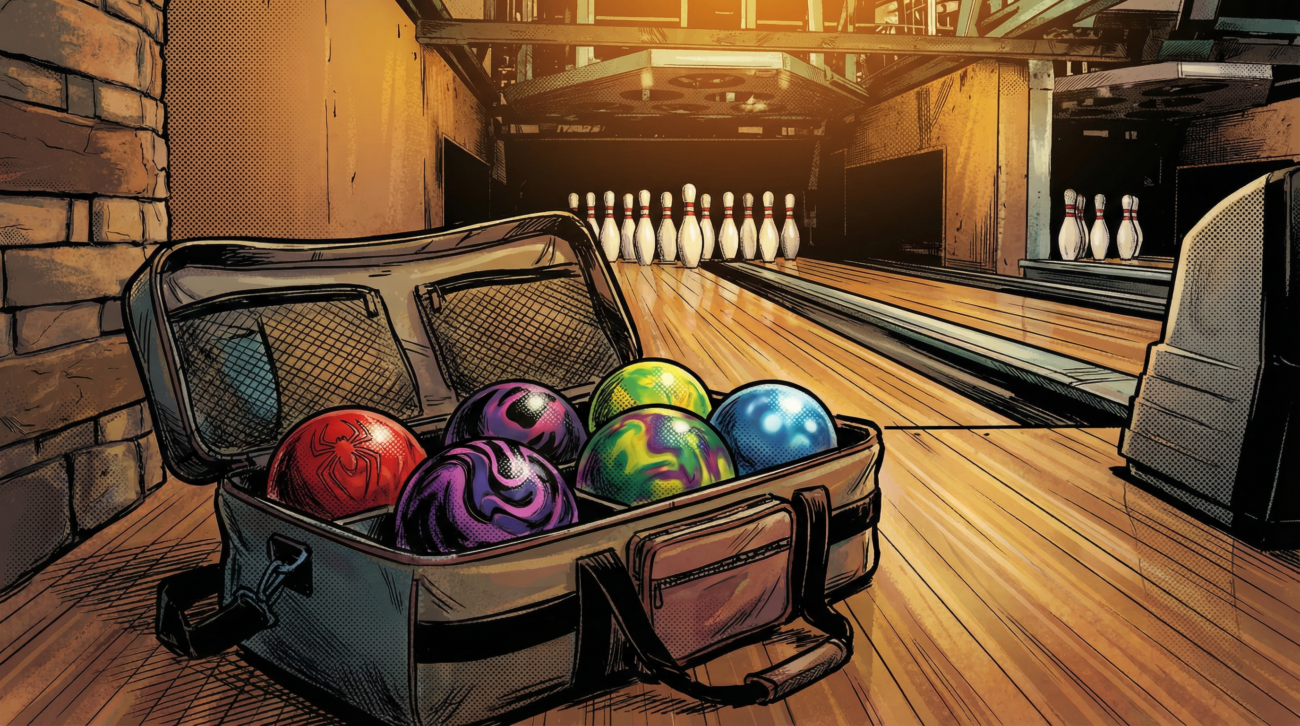
How Many Bowling Balls Do You Actually Need? (Hint: It’s More Than One)
You’ve seen them. The guys who roll into the alley with a six-ball roller bag that looks like it could survive a plane crash. You, with...
Plastic, Urethane, or Reactive? A No-BS Guide to Bowling Ball Coverstocks
If you really want to geek out on bowling, start talking about coverstocks. To a casual bowler, it’s just the outside of the ball. To a...